Publications

Further to our vulnerability research, our consultants are working around the clock to study and research new hacking techniques that may be used by unauthorized individual/malicious attackers to compromise the security of a network, system and/or software application. The results of our work are compiled in an authoritative report/whitepaper and subsequently published on the Internet with the intent to help organizations better secure their systems.
Moreover, our consultants are regularly invited to present their research work, speak on current security topics and demonstrate offensive and defensive techniques at leading industry events and conferences around Cyprus, such as Bsides Cyprus, Blachat USA and  the Cyprus Computer Society's Annual Open Hack Day Event and Computrain's Cybercrime Security Forum.

My Setup Monstrosity

My Setup Monstrosity

Posted by Vasilis Sikkis
25 March 2020
I have always been a Windows user, mostly because I enjoy playing video games in my free time and having a virtual machine to study and code was working fine for me on my personal PC.
But ever since Microsoft introduced WSL I was wondering if I could change my workflow and create the “ultimate” setup on my Windows machine. When WSL2 for Windows was introduced, I decided to make the best out of it. The main issue with going down this path is ditching your favorite virtualization environment (e.g. VirtualBox, VMware) and switch to Hyper-V. I won’t go in much detail about the advantages and disadvantages of each virtualization system but to the best of my knowledge, installing a virtual machine on Hyper-V is a “pain in the ass”.
This blogpost is not meant to be an all-in depth tutorial on how to install everything, but rather a walkthrough on why I installed every utility and how I customized it to suit my needs. Nevertheless, I will provide links to everything I used for everyone who wants to try out my setup or parts of it.
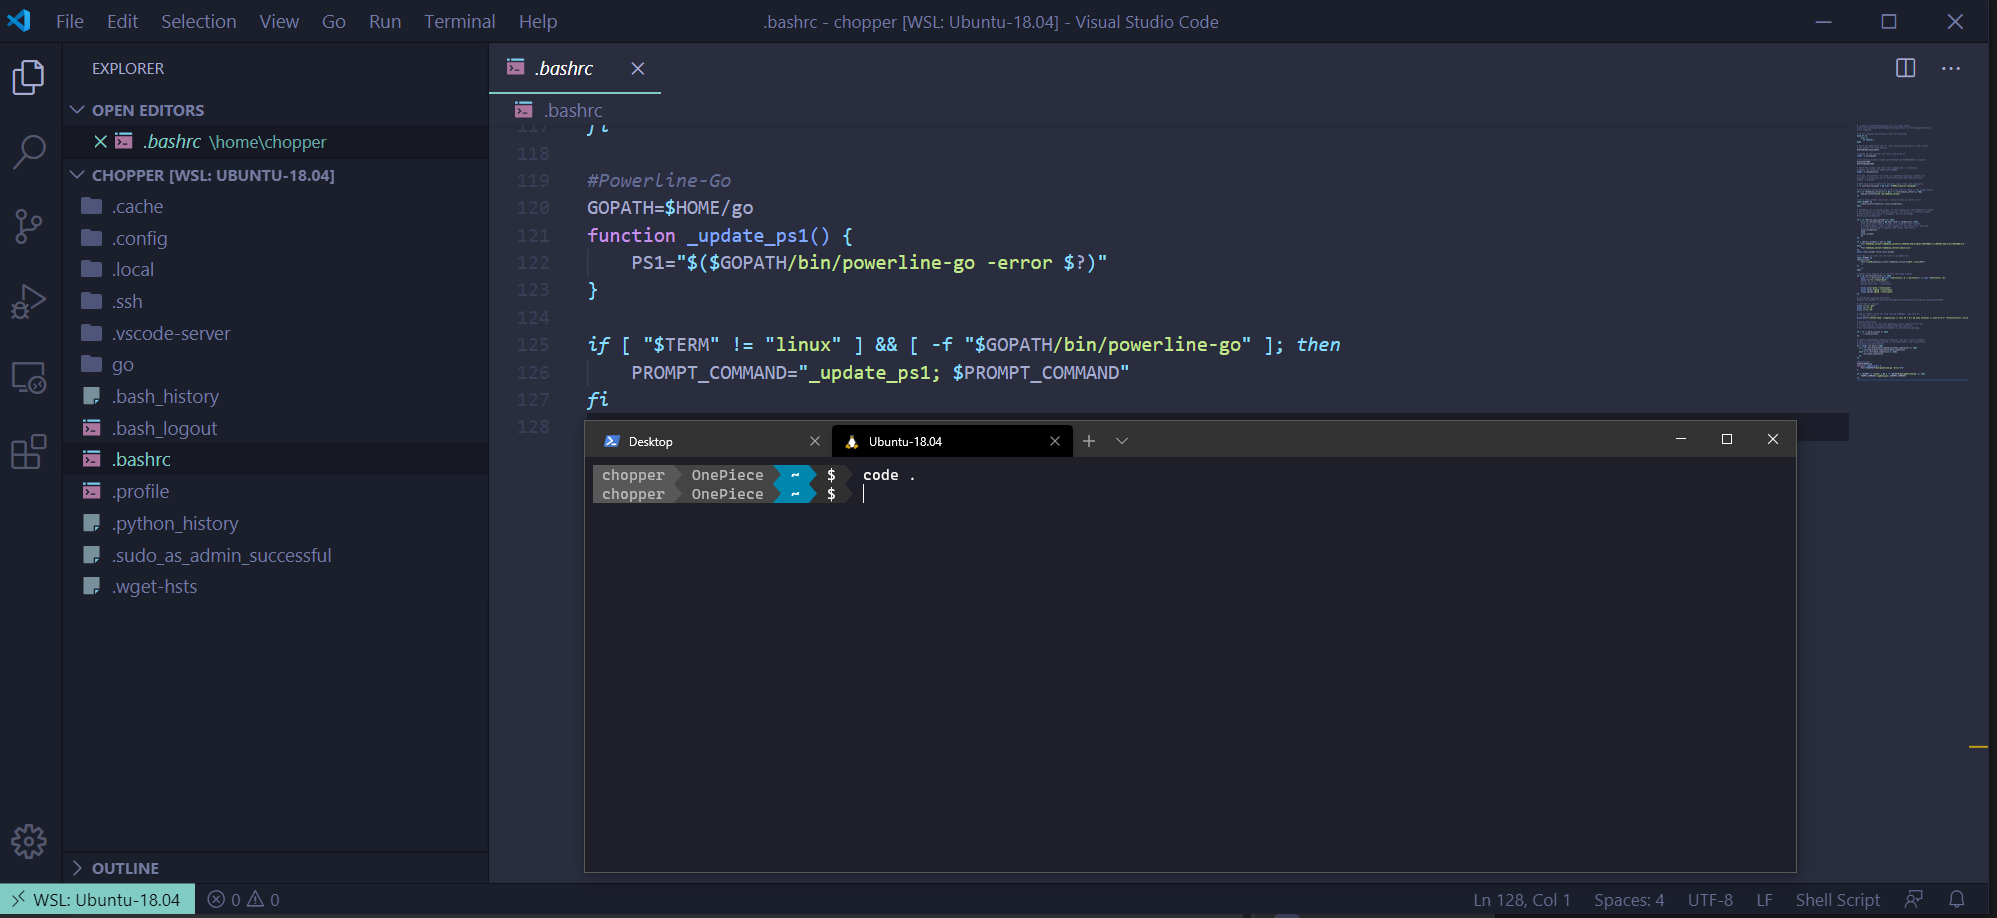
Anyway, let’s talk about what my current/final setup is. I have installed WSL2 with two OSes (Ubuntu and Kali) which are in NAT mode with my main OS. To install WSL2 you can follow Microsoft’s instructions. The reason why I have two Linux machines is because I use my Ubuntu mainly for software development and the Kali machine to enhance my pentest experience on my Windows machine without opening an additional graphical virtual machine. I must point out that to enable WSL2 you have to have Windows 10 build 18917 or higher installed. At the time of writing, the build is available on the Windows Insider Program.
The next thing in the list is Docker. The Docker installation is straightforward, all you have to do is to download and install it from their website. One of the most exciting features is that you can enable the WSL2 based engine which leverages the dynamic memory allocation feature in WSL2 to greatly improve the resource consumption. For more information and how to enable it visit this link.
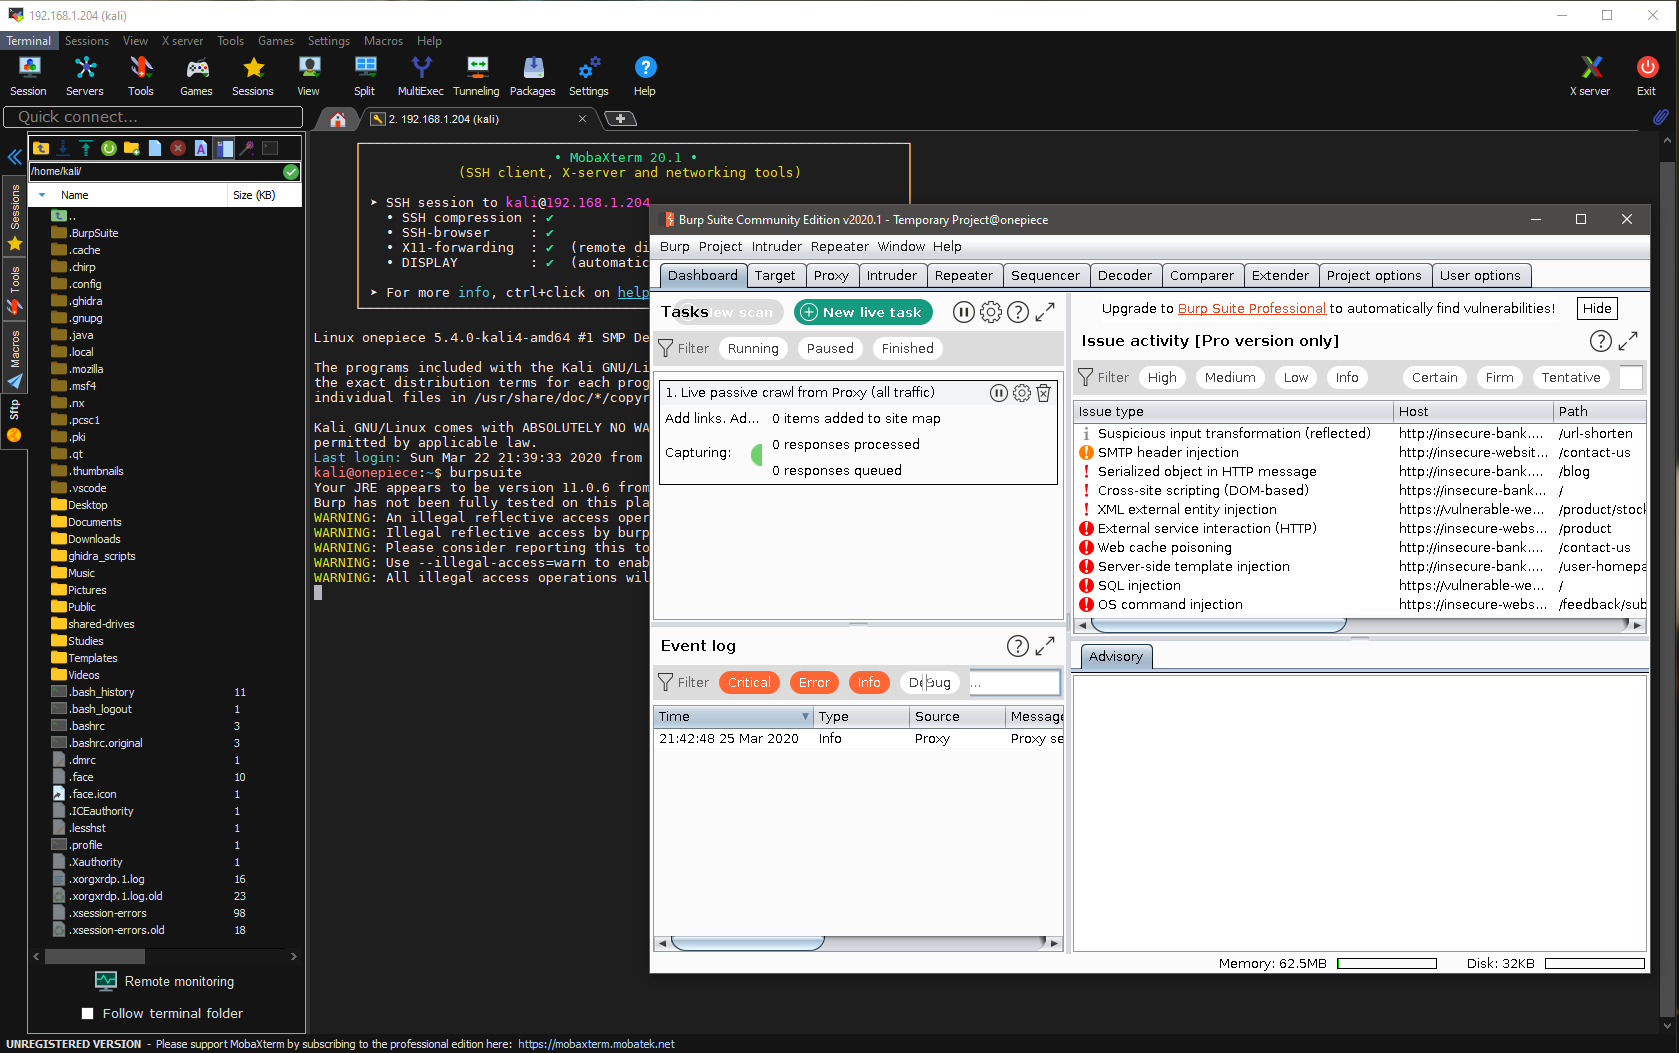
As my only option for virtualization now is Hyper-V, I have created a Kali Linux VM in bridge mode. As this is my home machine, I don’t actually use it in my pentest engagements, but it is helpful anyway, especially for studying, testing and doing research work. You can either download the ISO or the Hyper-V image . If you prefer to install the ISO a detailed installation tutorial can be found here. After the initial installation, the Enhanced Session Mode (similar to VirtualBox guest additions) must be enabled to improve your virtual experience. The Kali Linux website posted an article with all the details in the following link. The last thing to do is to create a shared folder between your host and kali using one of the two methods described in this blogpost. Personally, I preferred the first method which shares a drive with the guest OS.
To enhance my Hyper-V experience, I installed Vagrant to spin up virtual machines to my hypervisor automatically, in case I need something extra. The only issue here is that there aren’t as many supported boxes on Hyper-V as on the other virtualization programs.
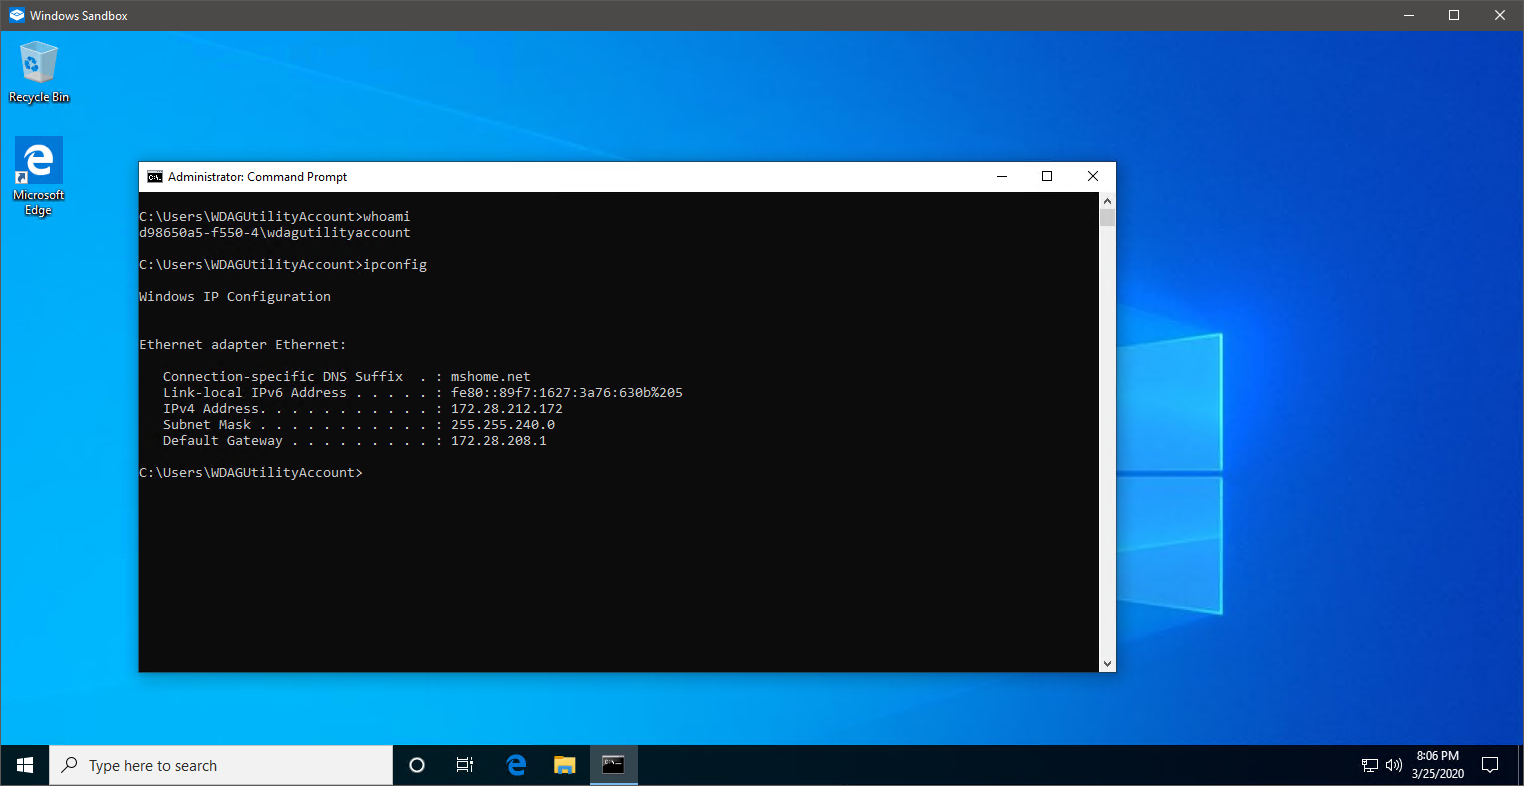
Lastly, I have enabled Microsoft Sandbox, which might be useful when you need a temporary Windows machine.
Image
Now let’s talk about the utilities. I am using the new Microsoft Terminal with oh-my-posh for my PowerShell terminal. You can find a tutorial in this link. The only thing different in my setup is the fonts I have used. You can download different fonts that support Powerline from the following website. My current font is the “Caskaydia Cove Nerd Font”.
Image
My editor of choice is Visual Studio Code. One of the best features is that you can use it to access another machine’s filesystem via its remote SSH capability or access your WSL2 filesystem from Visual Studio Code! The official documentation can be found here. I had to change the default font for the Visual Studio Code because the existing one did not support Powerline. An article that contains the fix can be found in this blogpost.
Image
To take the most out of WSL2, I wanted to get a GUI experience for the Linux applications in window mode. This can be achieved with the use of the X11 protocol by installing the VCXRSV server. To enable the X11 protocol on the WSL2 you just add the following line to the .profile file:
Image
export DISPLAY=<add host bridge ip>:0
The same can be done for the Kali Hyper-V machine, but this is a bit clunkier because the Enhanced Session Mode is already using the X11 protocol. I could not make it work using the -Y option on SSH on Windows or by modifying the SSH config file without breaking stuff. However, I found out that by using the MobaXterm client application, it works perfectly!
Image
Another cool utility that I am using is Microsoft PowerToys which among others can split the screen in several virtual screens.
Image
In the end, I have created a solid experience that I am comfortable working with, and I can recommend it to anyone that wants to use it for pentesting or software development since it is quite versatile. I hope you found the article useful and worth reading! Happy hacking!

Work with us

Learn more about us or
Book an online appointment!

Image

Next level IT infrastructure
& Security services.

© 2023, QSecure
Image

Next level IT infrastructure
& Security services.

© 2023, QSecure

Head Office

109 Prodromou Str. (Office 101),
2064, Strovolos Nicosia, Cyprus

Contact Info

info@qsecure.com.cy
Ph: (+357) 22 028014

Head Office

109 Prodromou Str. (Office 101),
2064, Strovolos Nicosia, Cyprus

Contact Info

info@qsecure.com.cy
Ph: (+357) 22 028014
Follow Us -